Choose a battle map stencil kit by checking six things: the size of the sheets, how the designs fit your grid, whether the openings are usable, whether your drawing tool can reach the paper, which symbols you will actually use, and what the finished maps look like.
A large symbol count is useful only when those symbols work for your drawing setup and the encounters you run.
This guide is published by RPG Stencils and uses our Starter Kit as a practical example. The goal is to help you understand what you are buying—not simply choose the kit with the most shapes.
New to physical stencils? Start with our introduction to battle-map stencils for an overview of how they work.
What to check before buying
| What to check | What to look for |
|---|---|
| Physical dimensions | Full sheet width and height, not just the size of individual designs. |
| Grid alignment | Examples showing how walls, doors, and objects sit on the grid you use. |
| Usable openings | Close-up photographs and traced results, especially for small details. |
| Drawing-tool fit | Evidence that your intended pencil or pen can reach the drawing surface through the openings. |
| Symbol selection | A useful combination of structural shapes and objects relevant to your games. |
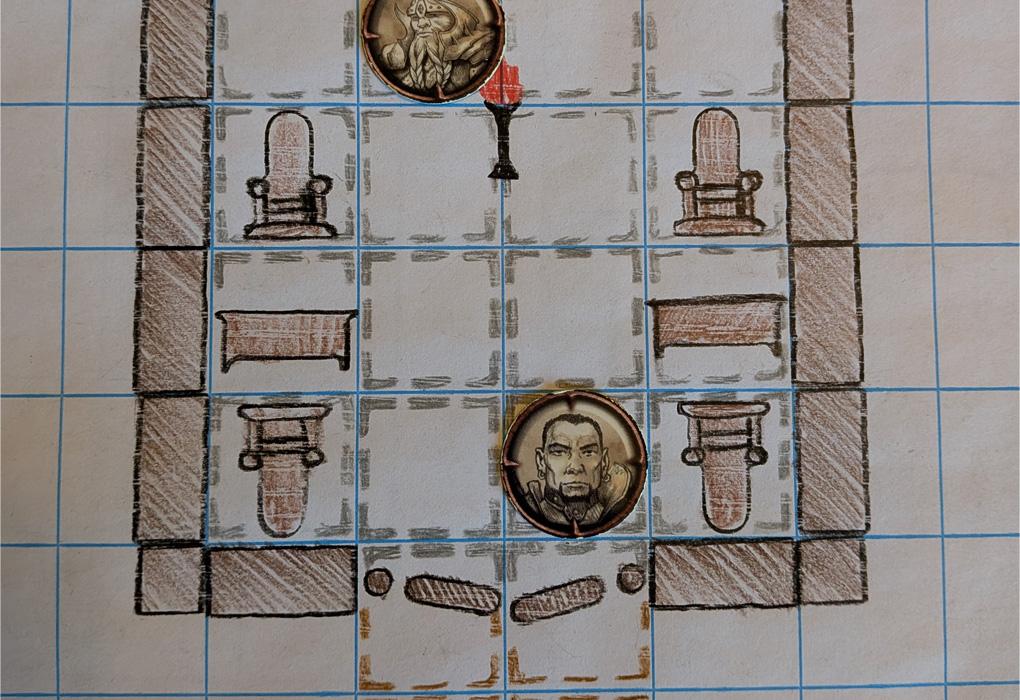
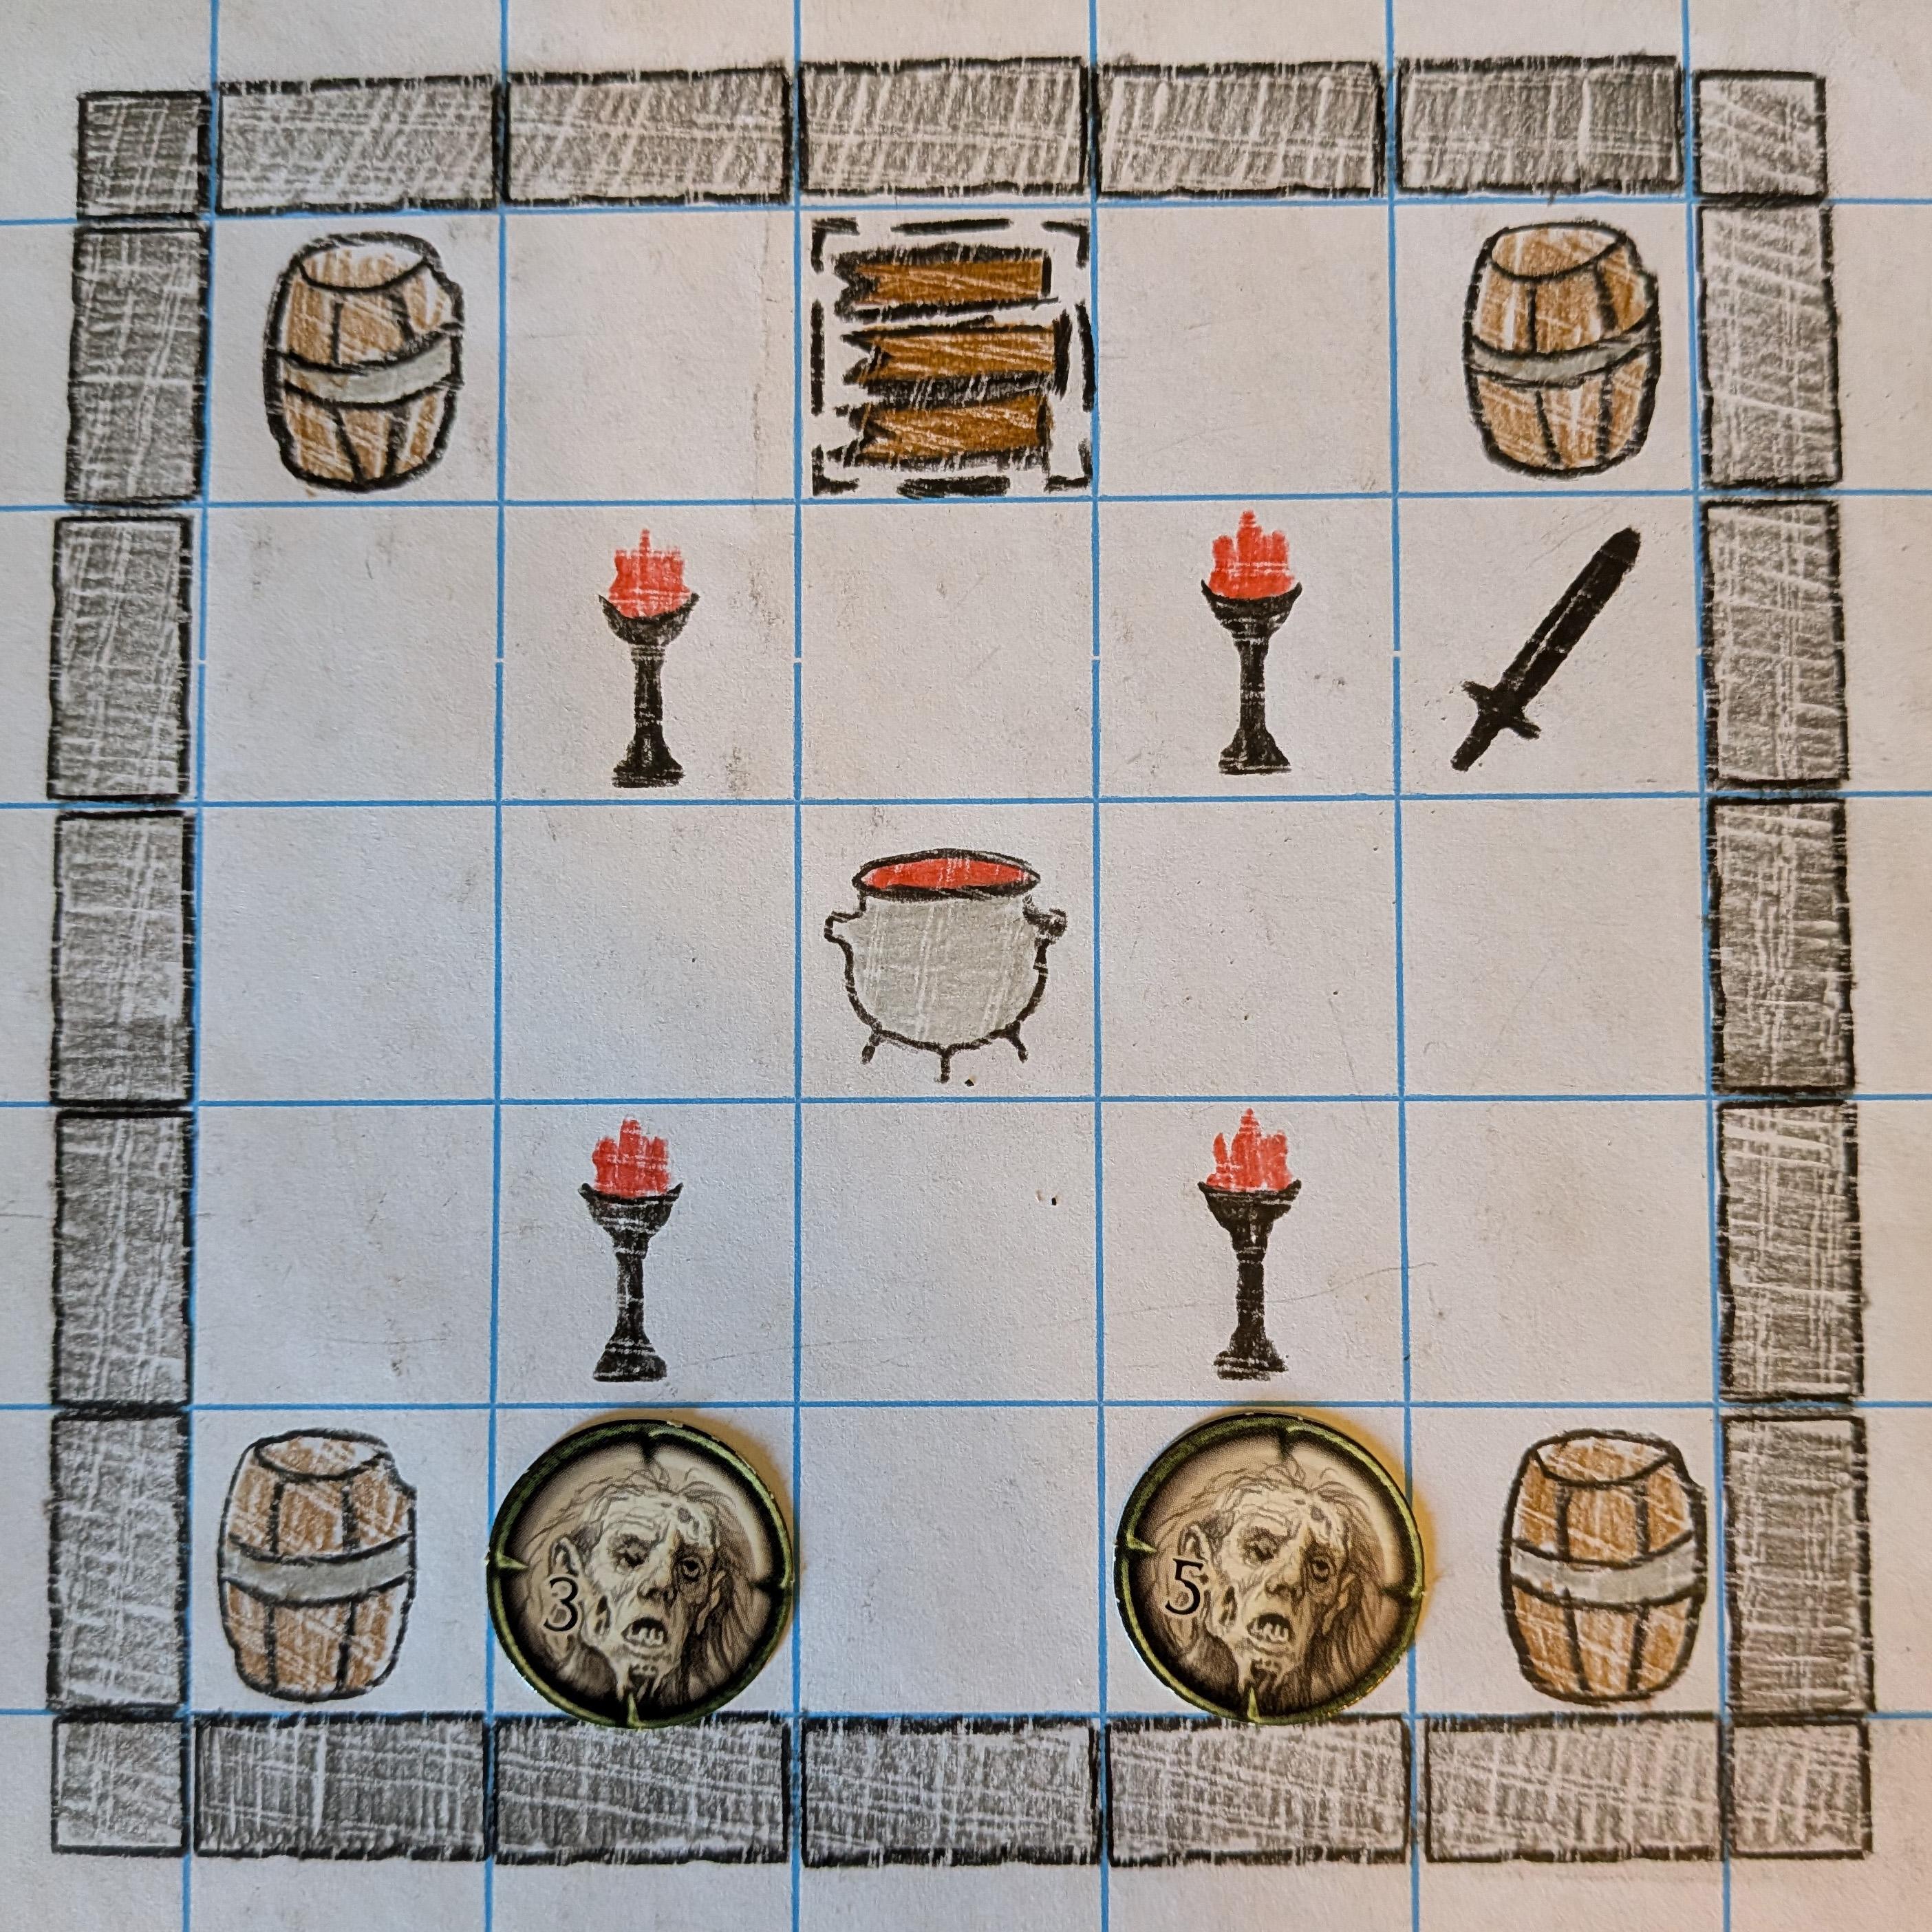
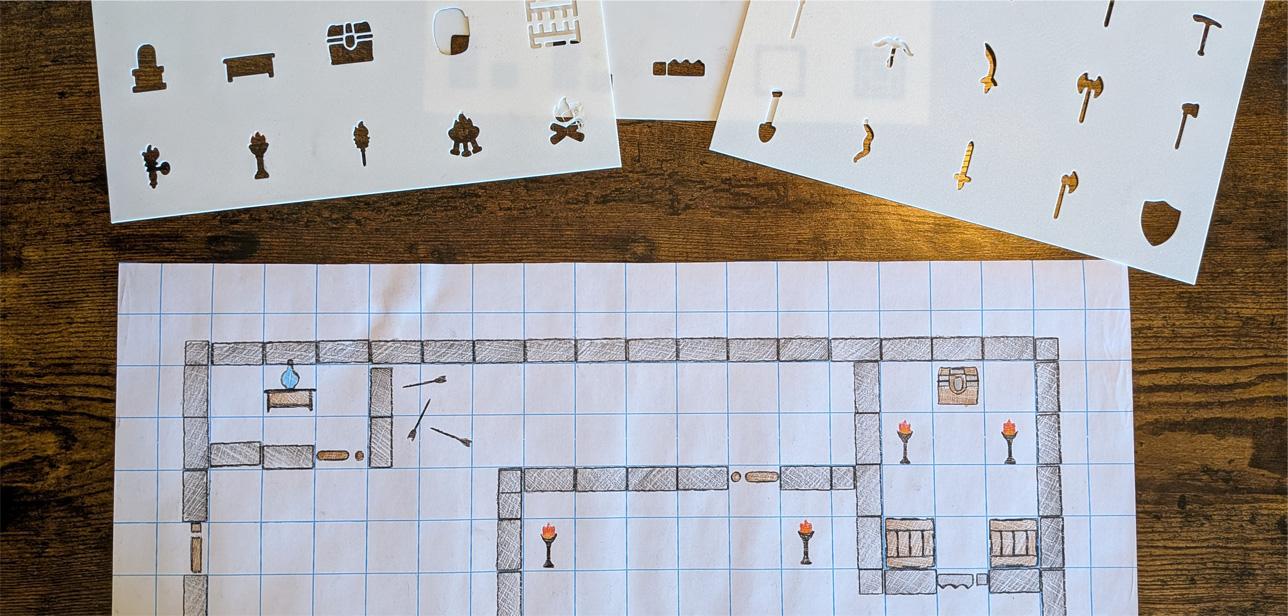
| Finished results | Actual hand-drawn maps, with stenciled features distinguished from freehand additions. |
Use this checklist to compare the product with your existing paper, drawing tools, storage space, and preferred mapping style.
1. Check the sheet size—not just the symbol size
There are three different measurements worth understanding: the overall stencil sheet, the openings within it, and the resulting marks on your map.
The full sheet dimensions tell you how much space the stencil needs on your table and whether it fits in your gaming bag or folder. The opening dimensions help you judge what you can trace. The finished drawing shows how the symbol will look in use.
A large sheet may keep more designs together, but check whether you can position it comfortably in a crowded play area. A smaller sheet may be easier to move around, but consider how many separate sheets you will need to find and organize.
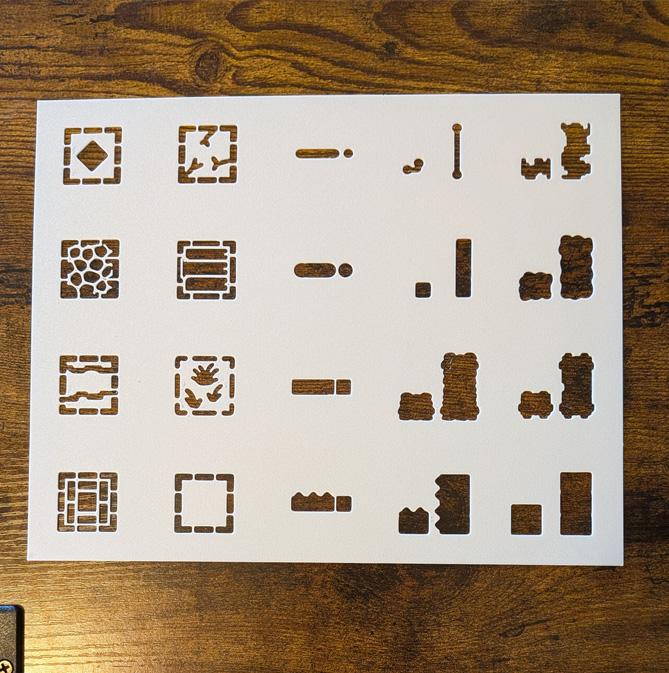
For the RPG Stencils Starter Kit, the product page describes an average individual stencil size of approximately one inch by one inch. That is not a measurement of the complete sheet.
Before ordering, look for full sheet measurements. Ask for them when a listing provides only the dimensions of the designs.
2. Look at how the designs fit your grid
Do not stop at a “grid-friendly” description. Look for a photograph showing the stencil and its traced results on a grid with a stated square size.
Check how a wall follows a grid line, how a doorway connects to it, and how repeated sections line up. For furniture and smaller objects, consider whether the drawing leaves the surrounding spaces easy to read.
The physical grid and the fictional scale are separate decisions. For example, a group might use a one-inch square to represent five feet, but that is the group’s mapping convention—not a distance automatically assigned by the stencil.
An object symbol also does not automatically fill or block an entire square. Decide what the object represents and apply your game’s rules accordingly.
For our kit, treat the listed average design size as a starting point. Use actual grid photographs and individual measurements to evaluate specific designs rather than assuming every opening is exactly one square.
3. Inspect the openings and your drawing-tool fit
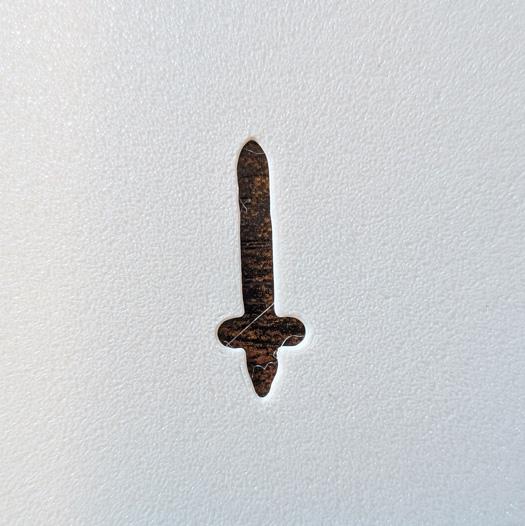
A stencil can look clear in a product photograph without showing whether your preferred drawing tool can trace its smallest details.
Look closely at narrow openings, tight corners, and the spaces around detailed shapes. Then look at a finished tracing of those same features.
Your drawing tool needs to enter the opening and reach the surface beneath it. Consider the shape of the tip, the wider part behind the tip, the thickness of the stencil, and the angle at which you normally draw.
Do not assume that a pen described as “fine point” will fit every opening. Likewise, do not assume that a demonstration using one pencil establishes compatibility with every marker.
For pencil-and-paper mapping, look for a pencil demonstration. For a reusable battle mat, check both stencil fit and the mat manufacturer’s writing-tool instructions. These are separate compatibility questions.
When close-up demonstrations are missing, ask the seller which tools were used in the example maps.
4. Choose symbols you will reuse
Start with the places your group visits most often.
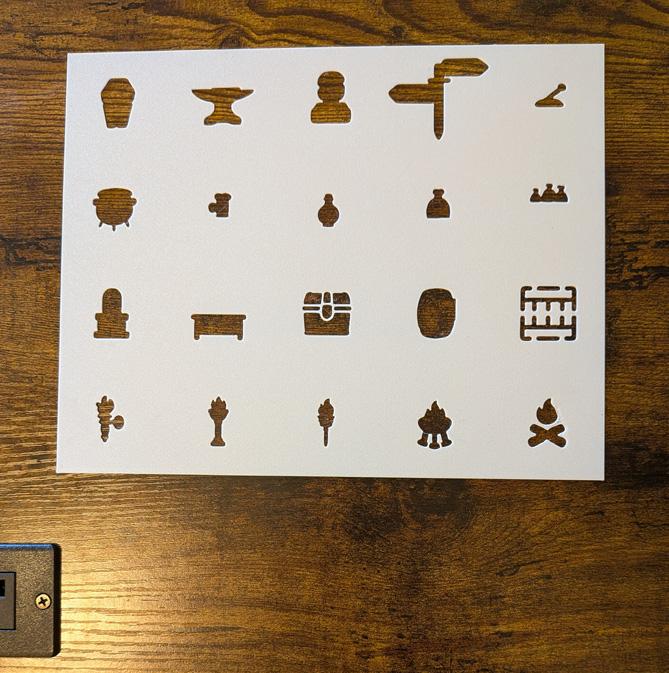
For room-based adventures, look for designs that help establish boundaries, entrances, and floor surfaces. Then consider objects that make the locations useful and recognizable: furnishings, storage, lighting, equipment, or other details relevant to your campaign.
Separate your shopping list into three groups:
- Structure: The shapes needed to establish rooms, passages, and entrances.
- Everyday objects: The features you expect to use repeatedly across different locations.
- Specialized details: The symbols that support particular scenes, themes, or discoveries.
A useful question is: “Could I make several of my usual encounters with these designs?”
Do not judge a kit only by the total number of symbols. Repeated use matters more than collecting shapes you rarely need.
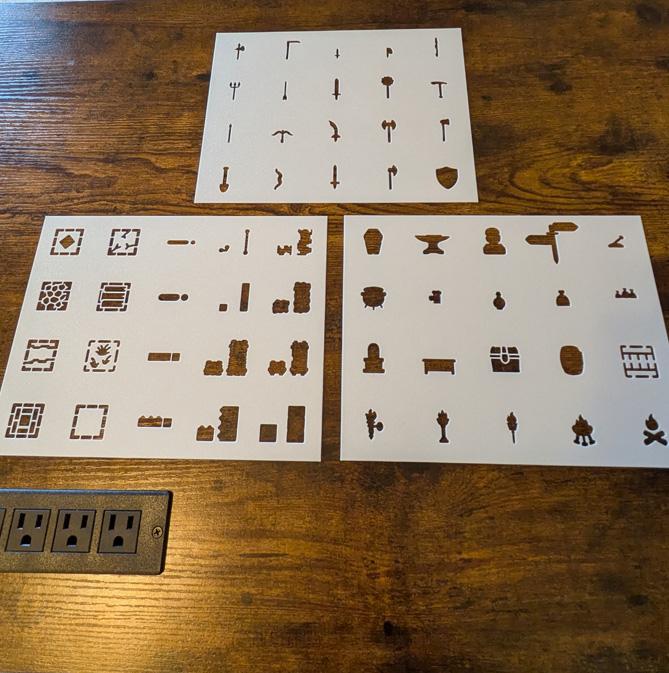
The RPG Stencils Starter Kit combines architectural designs with weapons and common items. When reviewing it, consider how those categories support your own maps rather than assuming you need to use every symbol in every encounter.
5. Consider how the stencil will feel during a session
Imagine using the kit while your players, notes, dice, and miniatures are already around the table.
Can you quickly find the design you need? Can you hold the sheet steady without covering the opening? Can you reposition it without disturbing the map or nearby pieces?
Inspect the edges and fine details in close-up photographs. Look for demonstrations of positioning and tracing rather than relying only on a neatly arranged product photo.
Also check the seller’s cleaning and storage instructions. Choose a kit whose care requirements fit the way you carry and store your gaming supplies.
The practical goal is a tool you can comfortably reach for when you need another room, doorway, or object—not just something that looks organized in its packaging.
6. Judge the finished map, not only the stencil
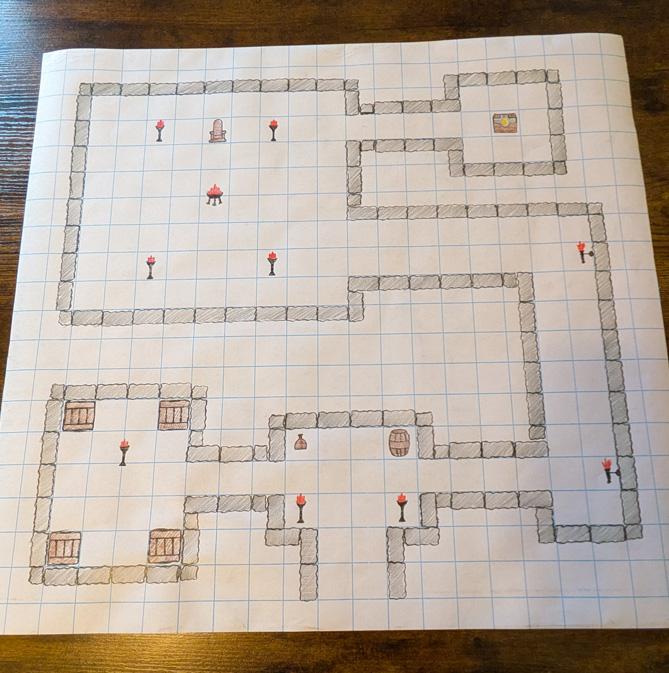
A finished example helps you evaluate whether the visual style suits your table.
Look for a map photographed at a useful viewing distance, not only an extreme close-up. Ask whether the boundaries are clear, the entrances are recognizable, and the grid remains easy to follow around furniture and decorative details.
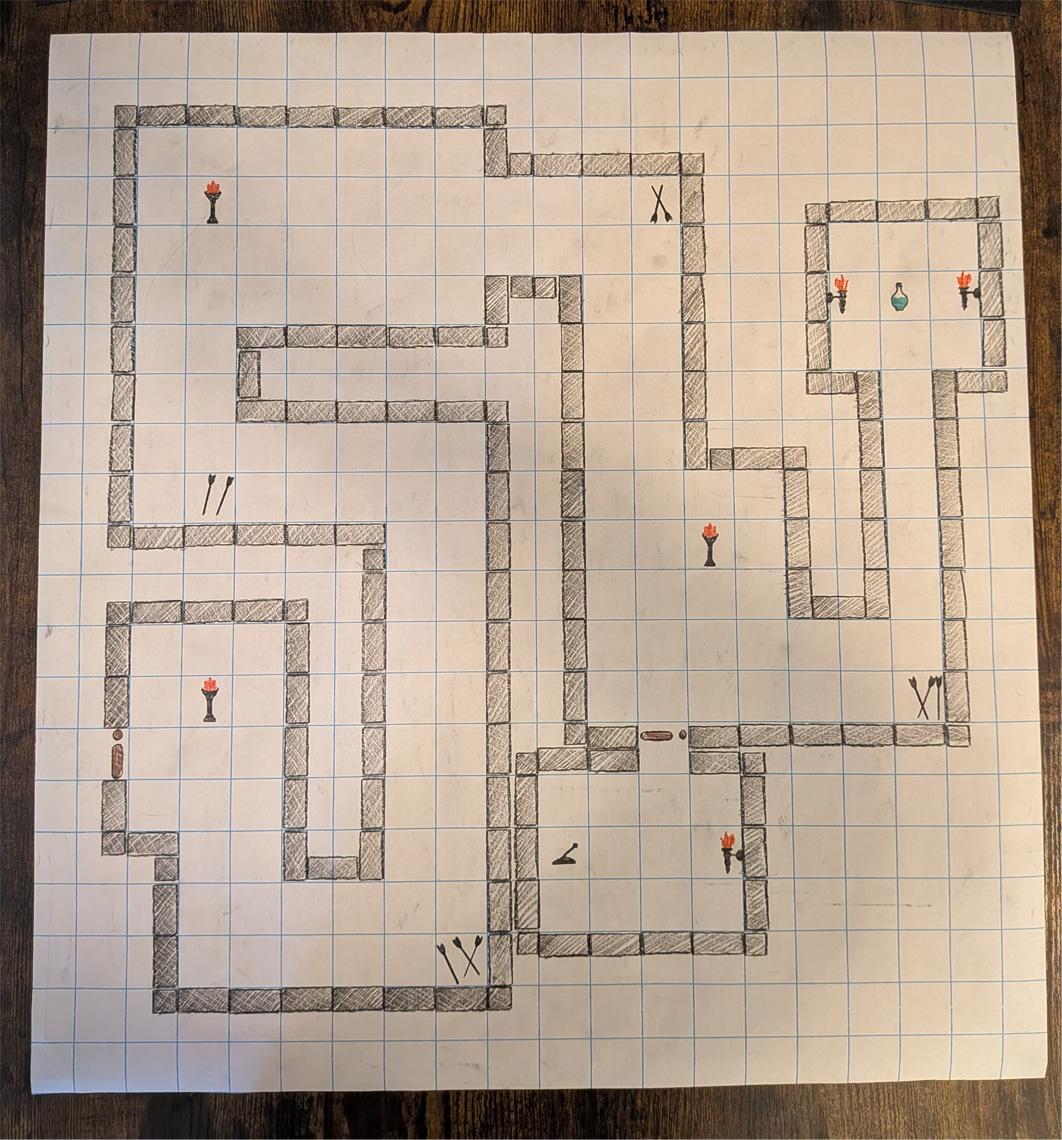
Check which marks came from the stencil and which were added afterward. Labels, shading, unusual terrain, and connected lines may be drawn freehand.
That is not a disadvantage. The important thing is knowing what the kit provides and what you will add yourself.
For RPG Stencils examples, use the same distinction: identify the traced features and any freehand finishing so you can make a fair judgment about the result. Our battle-map drawing tutorial walks through the hand-drawn workflow.
The RPG Stencils Starter Kit at a glance
- Physical format
- Three stencil sheets
- Design count
- 60 shapes
- Material
- 3D-printed PLA
- Design categories
- Floors, walls, doors, weapons, and common items
- Listed average design size
- Approximately 1 × 1 inch
The design count refers to shapes, not separate sheets. The average design size is not the full sheet footprint or a guarantee that every design occupies exactly one grid square.
For exact sheet measurements or compatibility with a particular drawing tool, confirm those details before ordering.
Explore the Starter Kit’s product details.
Is this the right kind of mapping tool for you?
Consider a stencil kit when you enjoy drawing physical maps but would like reusable shapes for recurring features. It can also suit a mixed workflow: trace the common elements and draw unusual features freehand.
A stencil kit may be less important when your group only needs a few rough lines, or when you prefer finished, full-color maps that require no drawing.
Choose according to how you actually prepare and run sessions. You do not need to replace a mapping method that already works for your group. For a broader comparison, read about stencils, dungeon tiles, and digital map tools.
When comparing costs, check the total at checkout and which supplies are included. Treat pencils, paper, battle mats, and miniatures as separate purchases unless the listing explicitly includes them.
Frequently asked questions
Are battle map stencils only for D&D?
No. Symbols representing walls, doors, furniture, and equipment are not inherently tied to one game system. Use them with the scale and rules appropriate to your tabletop RPG.
Does every stencil design need to fill a grid square?
No. A symbol can represent an object within a square or a feature extending across several spaces. Judge the actual drawing size and decide how it represents the object on your map.
Will any pencil or marker work?
Do not assume universal compatibility. Check the openings, stencil thickness, and the shape of your drawing-tool tip. For reusable mats, also follow the mat manufacturer’s instructions about suitable writing tools.
Can I combine stencils with freehand drawing?
Yes. Use the stencil for shapes you want to repeat, then add labels, unusual terrain, shading, or other details by hand. When reviewing example maps, look for a clear explanation of which features were traced.
Explore the kit before you choose
Review the designs, product photographs, and current listing details against your own drawing setup.
Choose the kit because its dimensions, symbols, and tracing workflow suit your table—not simply because it offers a large number of shapes.